Raspberry Pi TAK Server (5.0.0) Install
Raspberry Pi Operating System Installation
Before we can start, you need to provision your Raspberry Pi with the correct operating system. You can choose from the following:
- Ubuntu 22.04LTS (64-Bit)
- Raspberry Pi OS (64-Bit)
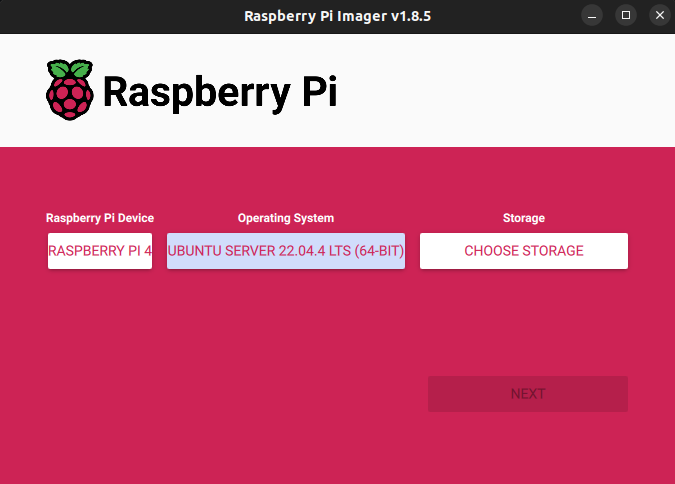
For this tutorial we are using Ubuntu Server 22.04LTS (64-bit) and the raspberry pi imager. Follow the steps on the raspberry pi imager to install the OS onto a Micro SD card, USB flash drive, or SSD.
TAK Server Setup (Single Server Install)
You will want to grab the correct .deb binary from tak.gov.
Download the Binaries
Download the TAK Server binaries from tak.gov.
There should be a section labeled UBUNTU AND RASPBERRY PI but make sure you grab the one that ends in _ALL.DEB
You will want the following:
TAKSERVER_5.0-RELEASE58_ALL.DEB- Combined Database and TAK Server binaryDEB_POLICY.POL- Debsig policy informationTAKSERVER-PUBLIC-GPG.KEY- gpg key for TAK Server binary
Upload Binaries to RPi
Copy the file onto the Pi.
Using scp navigate to the directory where you downloaded the files to and then run the following commands.
# copy the takserver_5.0-RELEASE58_all.deb to the home directory
scp takserver_5.0-RELEASE58_all.deb <user>@<pi-ip>:/home/<user>

# copy the deb_policy.pol to the home directory
scp deb_policy.pol <user>@<pi-ip>:/home/<user>

# copy the akserver-public-gpg.key to the home directory
scp takserver-public-gpg.key <user>@<pi-ip>:/home/<user>
Then ssh to the pi with your user.
Verify GPG Signatures
Once the files are copied onto the pi, you’ll want to verify the key signature matches.
Then install debsig-verify
sudo apt install debsig-verify
Then cat the deb_policy.pol file.
<?xml version="1.0"?>
<!DOCTYPE Policy SYSTEM "http://www.debian.org/debsig/1.0/policy.dtd">
<Policy xmlns="https://www.debian.org/debsig/1.0/">

  <Origin Name="TAK Server Release" id="F06237936851F5B5" Description="TAK Product Center"/>

  <Selection>
    <Required Type="origin" File="debsig.gpg" id="F06237936851F5B5"/>
  </Selection>

   <Verification MinOptional="0">
    <Required Type="origin" File="debsig.gpg" id="F06237936851F5B5"/>
   </Verification>
</Policy>
Copy the ID listed in the file. For example: F06237936851F5B5 is the ID.
sudo mkdir -p /usr/share/debsig/keyrings/F06237936851F5B5/

sudo mkdir -p /etc/debsig/policies/F06237936851F5B5/

sudo touch /usr/share/debsig/keyrings/F06237936851F5B5/debsig.gpg

sudo gpg --no-default-keyring --keyring /usr/share/debsig/keyrings/F06237936851F5B5/debsig.gpg --import takserver-public-gpg.key
You should see the following after importing the public key:
gpg: directory '/root/.gnupg' created
gpg: /root/.gnupg/trustdb.gpg: trustdb created
gpg: key F06237936851F5B5: public key "TAK Product Center TAK Server Release <support@tak.gov>" imported
gpg: Total number processed: 1
gpg:               imported: 1
sudo cp deb_policy.pol /etc/debsig/policies/F06237936851F5B5/debsig.pol

debsig-verify -v takserver_5.0-RELEASE58_all.deb
Make sure that the last command outputs:
debsig: Verified package from 'TAK Product Center' (TAK Server Release)
Raspberry Pi Install
Before we begin we have to setup a few things on the Pi first.
We need postgres and PostGIS installed.
# Create new keyrings directory
sudo mkdir -p /etc/apt/keyrings

# Add postgresql keyring
sudo curl https://www.postgresql.org/media/keys/ACCC4CF8.asc --output /etc/apt/keyrings/postgresql.asc

# Append keyring to apt list of available sources
sudo sh -c 'echo "deb [signed-by=/etc/apt/keyrings/postgresql.asc] http://apt.postgresql.org/pub/repos/apt/ $(lsb_release -cs)-pgdg main" > /etc/apt/sources.list.d/postgresql.list'

# Update apt packages
sudo apt update
Once those steps have completed you can install tak server.
# Install TAK Server .deb
sudo apt install ./takserver_5.0-RELEASE58_all.deb
After that double check the Java Version.
# Check Java version
java -version
If you do not have Java 17.x.y you will have to install java 17.x.y.
# Install Java 17 for Ubuntu/Raspberry Pi OS
sudo apt install openjdk-17-jre
Raspberry Pi Configuration
Once the service is installed you will have to configure the systemctl daemon to detect the new TAK Server service.
# Reload systemd daemon
sudo systemctl daemon-reload
On the Raspberry Pi we will be using the following commands to start,stop, restart the server.
Start Server:
# Start TAK Server
sudo systemctl start takserver-noplugins
Stop Server:
# Stop TAK Server
sudo systemctl stop takserver-noplugins
Restart Server:
# Restart TAK server
sudo systemctl restart takserver-noplugins
Finally to make sure TAK Server starts on boot you will want to run:
# Reload the systemd service
sudo systemctl enable takserver-noplugins
Certificates
This is probably the most important part of the whole setup. If you mess this section up it can cause the server to break completely, requiring you to start from a fresh installation. Be sure to follow each step carefully.
First thing we will want to do is update the cert-metadata.sh file located in the /opt/tak/certs/ directory.
NOTE: ALL OF THE FOLLOWING STEPS MUST BE COMPLETED AS THE TAK USER
sudo su tak
cd /opt/tak/certs
# Open and edit the cert-metadata.sh file
nano /opt/tak/certs/cert-metadata.sh
When you open the file it should look something like this:
# Common configuration for all certificates
#  Edit these fields to be appropriate for your organization
#  If they are left blank, they will not be included.  Do not leave COUNTRY
#  blank (you may set it to "XX" if you want to be obtuse).
#
#  Values for each may be optionally set as environment variables.
#  Replace variables such as ${STATE} and ${CITY} as needed.
#

COUNTRY=US
STATE=${STATE}
CITY=${CITY}
ORGANIZATION=${ORGANIZATION:-TAK}
ORGANIZATIONAL_UNIT=${ORGANIZATIONAL_UNIT}

CAPASS=${CAPASS:-atakatak}
PASS=${PASS:-$CAPASS}

## subdirectory to put all the actual certs and keys in
DIR=files

##### don't edit below this line #####
...
You will want to edit the following fields so it looks similar to this:
COUNTRY="US"
STATE="VA"
CITY="Arlington"
ORGANIZATION="DoD"
ORGANIZATIONAL_UNIT="DoD"

CAPASS="mySuperSecretPassword$$222"
Note: all variables must be enclosed with double quotes ".
Root Certificate Authority
NOTE: ALL OF THE FOLLOWING STEPS MUST BE COMPLETED AS THE TAK USER
sudo su tak
Then navigate to the certs directory.
cd /opt/tak/certs
First we will create a self-signed root CA.
# Make sure you are the tak user when running these commands:
# sudo su tak
# Create the Root CA
./makeRootCa.sh --ca-name ${CAcommonName}

# EXAMPLE
# ./makeRootCa.sh --ca-name TAK-ROOT-CA-01
Create Intermediate Certificate Authority
# Make sure you are the tak user when running these commands:
# sudo su tak
# Create the Intermediate (Signing and Issuing) CA
./makeCert.sh ca <CAcommonName>

# EXAMPLE
# ./makeCert.sh ca TAK-ID-CA-01
Make sure you accept the prompt:
Do you want me to move the files around so that future server and client certificates are signed by thius new CA? [Y/N]
Create Server Certificate
# Make sure you are the tak user when running these commands:
# sudo su tak
# Signed server certificate
./makeCert.sh server ${commonName or IP}

# Example
# ./makeCert.sh server takserver

# Example
# ./makeCert.sh server 192.168.0.5
Then start the TAK Server
# exit the tak user
exit

# Start TAK Server
sudo systemctl start takserver-noplugins
Core Config
The Core Config is the main configuration section of the TAK server. It can be edited from the command line or some sections can also be edited in the UI. In this case we will do a mix of both.
First we will need to enable the correct port inputs:
Edit the CoreConfig.xml by opening it up as the tak user with nano, vi, vim
sudo su tak

nano /opt/tak/CoreConfig.xml
Verify you have the following 3 ports set. If you have an additional port (8444) you can keep or remove it. That port is used for Federation.
   <network multicastTTL="5" version="5.0-RELEASE-58-HEAD">
        <input _name="stdssl" protocol="tls" port="8089" coreVersion="2"/>
        <connector port="8443" _name="https"/>
        <connector port="8446" clientAuth="false" _name="cert_https"/>
        <announce/>
    </network>
NOTE if you modified your password in the previous steps then you must update the following
Under the <security> tag you will need to update the keystorePass
<tls keystore="JKS" keystoreFile="certs/files/takserver.jks" keystorePass="atakatak" truststore="JKS" truststoreFile="certs/files/truststore-root.jks" truststorePass="atakatak" context="TLSv1.2 keymanager="SunX509"/>
Also under the <federation-server> tag you will have to replace the password in the <tls> tag.
- keystorePass
- truststorePass
<tls keystore="JKS" keystoreFile="certs/files/takserver.jks" keystorePass="atak" truststore="JKS" truststoreFile="certs/files/fed-truststore.jks" truststorePass="atak" context="TLSv1.2" keymanager="SunX509"/>
If you did not make any changes to this file you can move on to Create Admin UI Certificate.
Restart the TAK Server
After all changes to the certificates and CoreConfig.xml are completed, we can restart the TAK server one last time.
# Restart TAK Server
sudo systemctl restart takserver-noplugins
Create Admin UI Certificate
In order to securely access the web ui we will need to create an admin certificate for the admin user. We will have to become the tak user again and then navigate back to the certs directory.
sudo su tak

cd /opt/tak/certs/
Then we can create the cert
# Make sure you are the tak user when running these commands:
# sudo su tak
# Create Admin Certificate
./makeCert.sh client ${certName}

# Example
# ./makeCert.sh client webui-admin
After the certificate was created we need to elevate the permissions of the certitifcate.
# Exit the tak user account
exit

# Elevate admin permissions
sudo java -jar /opt/tak/utils/UserManager.jar certmod -A /opt/tak/certs/files/${certName}.pem

# Example
# sudo java -jar /opt/tak/utils/UserManager.jar certmod -A /opt/tak/certs/files/webui-admin.pem
After we’ve updated the certificates permissions we will need to download it for use on our local system.
You can exit the tak user by running:
exit
Then we need to move the certificates to the home directory.
# Make sure you replace webui-admin with the name you chose for your certificate
sudo cp -v /opt/tak/certs/files/webui-admin.p12 ~/

# Change the ownership of the certificate to the main user
sudo chown -R $USER:$USER ~/
Once you’ve completed those steps you can download the .p12 file onto your local system.
# Copy the webui-admin.p12 to your local system
scp <user>@<pi-ip>:/home/<user>/webui-admin.p12 $HOME
Then to install it into your browser see Browser Certificate Installation (Firefox) for more.
Firewall Configuration
For simple TAK Server configurations, these are the most common ports you will be using.
| Service | Protocol | Port | Source | Destination | Direction |
|---|---|---|---|---|---|
| Tak Signaling | TCP/S | 8089 | Client | Server | IN |
| TAK API, WebUI, WebTAK | TCP/S | 8443 | Client | Server | IN |
| Certificate Provisioning | TCP/S | 8446 | Client | Server | IN |
# Check the status of(UFW)
sudo ufw status

sudo ufw default deny incoming # deny all incoming
sudo ufw default allow outgoing # allow all outgoing

sudo ufw allow ssh # Allow SSH

sudo ufw allow 8089/tcp # TAK Signaling
sudo ufw allow 8443/tcp # TAK API, WebUI, WebTAK
sudo ufw allow 8446/tcp # Certificate Enrollment

# Enable UFW
sudo ufw enable
Browser Certificate Installation (Firefox)
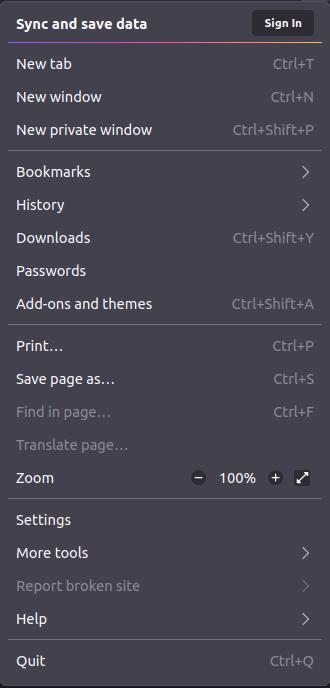
Open up your browser and click the hamburger icon on the right
-> 
Then on the drop down click settings
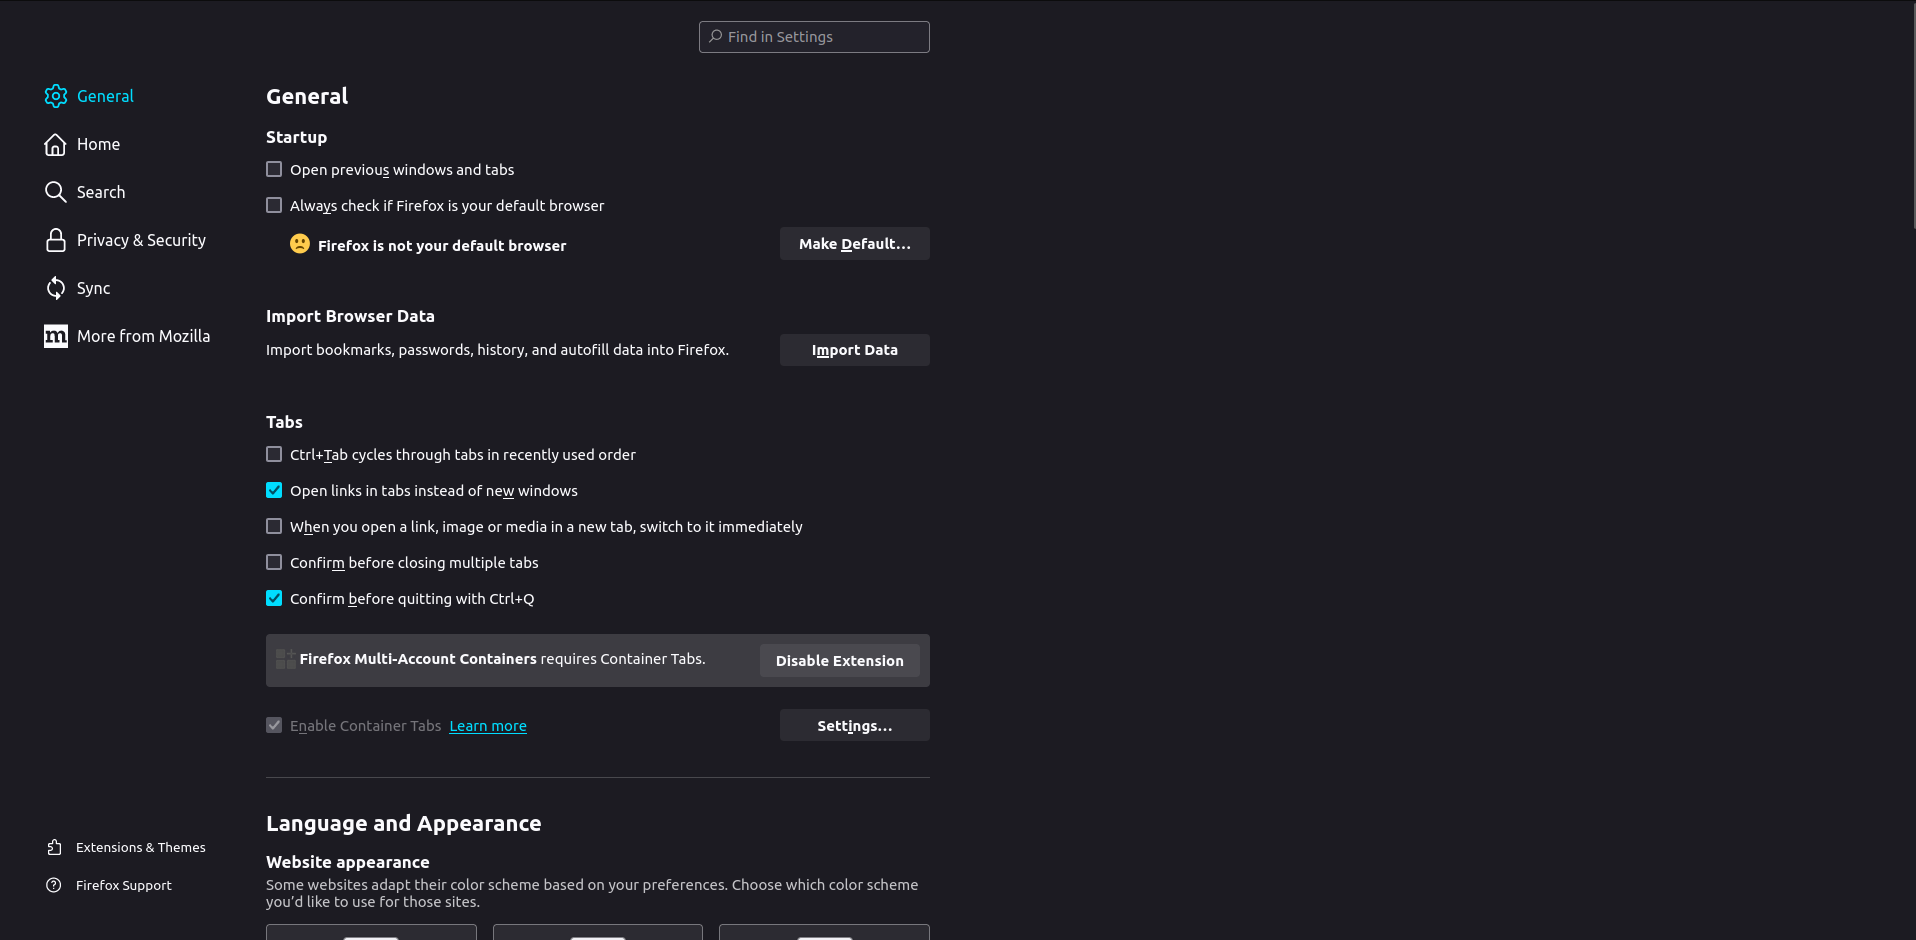
It should bring you to this page
Next search for certificates. You should see two options. View Certificates & Security Devices
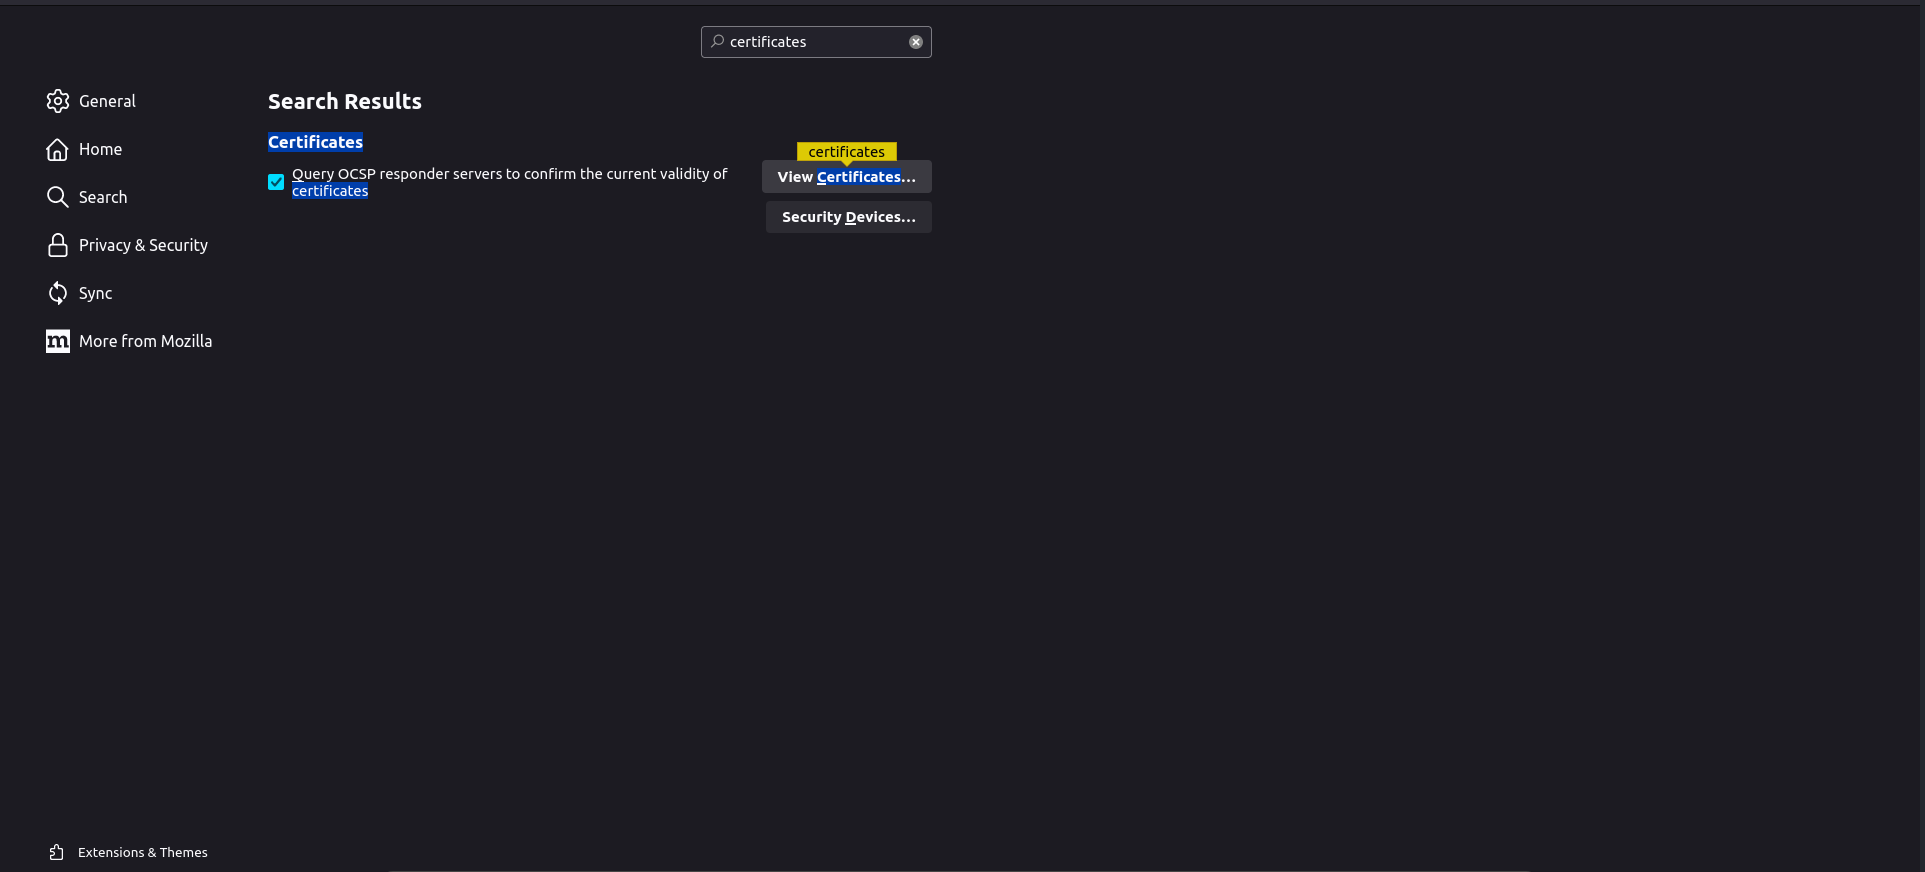
Click View Certificates
On the next window click the tab Your Certificates
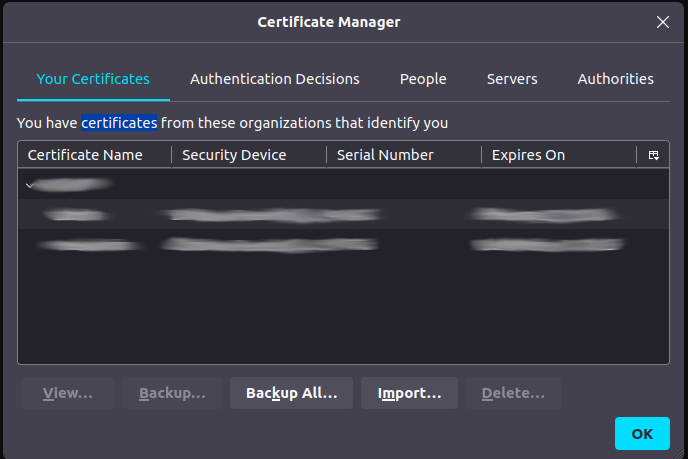
Next click import and search for your webui-admin.p12 cert that was created in the Create Admin UI Certificate steps.
It will ask for a password. This password is the one you put in the cert-metadata.sh from the Certificates step.
Access the UI
From this point you should be able to navigate to the TAK Server’s UI by going into your web browser and navigating to the IP address of the server.